
Fancy pins tutorial **spoiler present alert**
**** SPOILER : IF YOU ARE EXPECTING A CHRISTMAS PRESENT FROM ME YOU MIGHT SEE IT HERE ****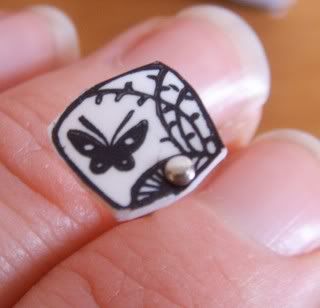
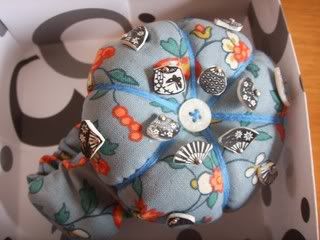
These are great for little gifts for your crafty friends. They are quick, cheap and easy to make and look ace stuck in a pin cushion.
You will need some stamps and some ink (or a suitable pen if you're a good drawer like I'm not) and a heat gun as well as some shrink plastic. All these items are available in craft stores and those of us who have gone through the card making/ scrapbooking phase will have these bits lying about. Probably.
Right, first of all choose a design with good clean lines and a solid outline (so that you can cut around it). You also need to bear in mind that the plastic shrinks (hence the name, shrink plastic, hey) by about 3 times so don't use a teeny weeny stamp or a massive one. I've used Hero Arts 18th Century fans, which are about 1 inch-ish. Stamp your image onto your shrink plastic. The ink stays wet so be very careful not to touch the design.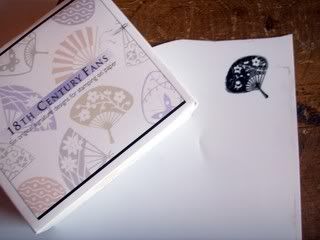
Carefully cut out leaving a small tab in place so that you can hold the stamped plastic.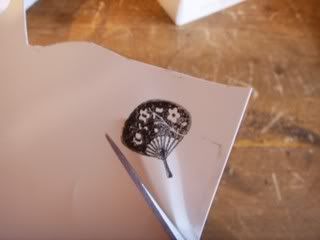
Stick a plain pin through a suitable part of the plastic, again being very careful not to smudge the design (or stab yourself, Marie).
Then cut off the tab bit. (You can see in this pic how the ink is sitting on the surface, don't worry about this at this stage).
Next, use a heat gun to shrink the plastic. Hold the design by the pin and be VERY CAREFUL as the gun will be HOT! As the plastic melts it will shrivel and twist, but don't worry it will be flat when it finishes shrinking. You can shape it by carefully presing the sides in place while it is plyable (again, it's hot so be careful).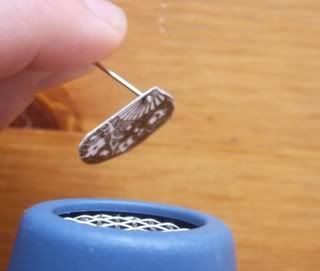
To make the pin cushion I followed this tutorial. I just cut a strip of fabric about 8cm by "enough to go around my wrist plus about half as much again". I folded it half right sides together and sewed and then turned the right way around and inserted a length of thick elastic (long enough to go around my hand when fully stretched) and tacked in place at each end. I folded one raw edge in on itself and put the other one inside it and double stitched together, twice. Then I used glue to stick my pin cushion on.
The boring bit: I designed this tutorial myself so please don't copy it unless you give me credit and link back to this blog. Thanks :)
![]()


2 comments:
Oy!! Cheeky moo! I only stab myself with needles and craft knives... not pins ;P
love
these are cool..gotta try it..thanks
Post a Comment