Showing posts with label Knitting. Show all posts

Wednesday, 14 May 2008

Decisions, decisions ...

Now that we are back from our zip along the Menai Straits (which was slightly choppier than expected, hence we didn't go out to sea and I needed both my hands to hold on, so no piccies. Sorry!) I need to decide what to do with my evening.

Do I get on with some work?


Or decide what I'll knit next?

Or shall I just park in front of the TV with a glass of wine and Desperate Housewives?

What do YOU think?

It will be an easy peasy tutorial this week - that can be done out in the sun and NO SEWING.

Thursday, 8 May 2008

WIP

Remember this pattern?

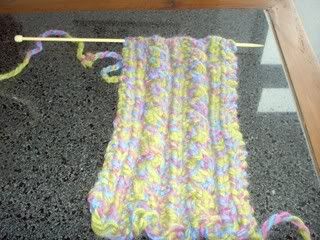
I'm about half way through, here is the WIP. I have made a few mistakes, but although they are slightly noticeable I'm not worrying too much about it. Obviously, I need to block that piece but I'm pretty pleased so far.

As you can see, I have LOADS of wool to make other things. I'm enjoying knitting more than anything else at the moment.

Sunday, 13 April 2008

The best sliced thing since ....

First of all I'd like to welcome all the new people who have found me through Sew Mama Sew. Thank you for coming, I hope you like my blog and visit me again.

My second thank you goes to Florence and Julia for the tips about Buttonberry. I really needed to make a new throw for our bed but couldn't face a whole heap of cutting out (I have never really made friends with my rotary cutter).

The answer .... sliced fabric!


OK so my design isn't exactly ground breaking but I figured it's an easy enough one that I can do as and when.

What (who) I'm not so pleased with is this spotty dog:

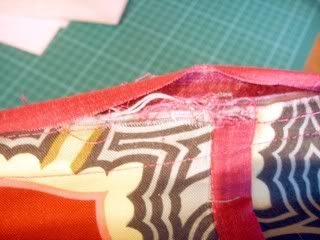
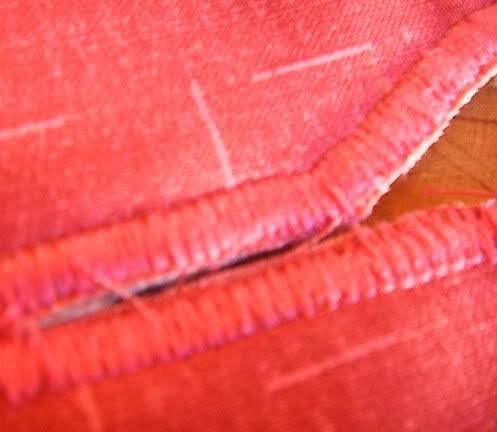
Who has done this to my lovely scarf which I have worn once:

With it being such a loose knit I'm hoping I can fix it without it being too noticeable

Have a great weekend everyone!

Friday, 11 April 2008

WIP finished!

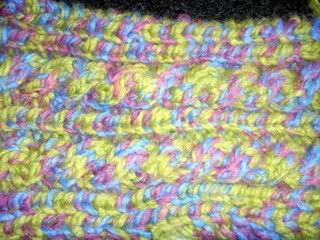
I finally finished my scarf last night. I wanted it long so I could pretend to be Isadora Duncan in my car (not really).


It's a spring scarf, as it's not quite warm enough to have bare necks but too hot to be all bundled up. I love the wavy texture and the way it flows.


If you want the pattern - which is EASY - here it is.

I used two yarns - 4 ply grey and 2 ply dusky pink and knitted on 6.5mm needles. You'll have to swatch it up to get the effect you want - but you can use pretty much any gauge or any yarn and just adjust the number of stitches.

Cast on 35 stitches (or any multiple of 3, plus 2 extra for a wider or narrower scarf)

k1, *k1, yo, k2tog repeat from *, k1

Continue until your scarf is long enough!

Sunday, 17 February 2008

One project finished and another started

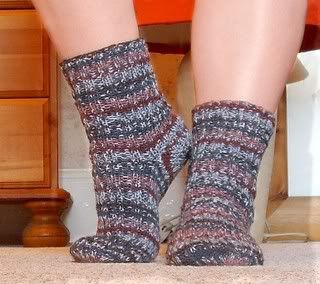
First of all, I finally finished the socks.

And here they are keeping my feet warm.

Photobucket

They actually took a little more than the promised one skein. I don't know if my tension was wrong, or if it was just that I'd wasted a lot getting it wrong and tangled at the start. Anyway, I was glad I'd bought two balls (although I now don't have enough for another pair, maybe some slightly smaller ones?) The second one was a lot easier though, and I would make them again (but not yet, I'm all socked out). Thank-you to my mum for helping me to make sense of the heel business.

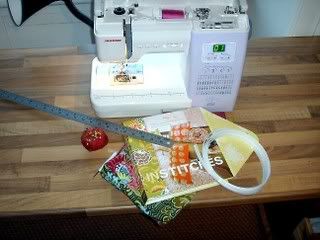
Speaking of, on Saturday I realised that it's only two weeks until Mother's Day. Skimming through my Amy Butler In Stitches, I'd seen a rather sweet thing which I can't name because the recipient reads this blog (religiously, because mums are quite nosey, aren't they?).

But here are some clues:

Photobucket
Some of my present fixin's. Can you see the surprise poking out?

Photobucket
Amy Butler fabric.

Photobucket
I need to hand stitch this bit

Photobucket
The first time I've ever done free hand button holes, this needs tidying up a bit.

It's not a bag, it's something I've never made before. It's something useful (I hope) as well as being pretty and Marmadaisy made.

Monday, 11 February 2008

One down, one to go!


Well, I wish I had known about this site a couple of weeks ago! Who knew socks were so darn tricky?


Anyway, here is my finished sock. Yes, just one of them and it has taken me much unravelling and quite a few swear words. I need a little break before I start the next one.


Gosh, look at my disgusting white legs, attractive sock mark, chipped toe nail polish and dirty feet. Oh, the shame! I really must get cracking on that other sock (or sort my feet out!)

Tuesday, 22 January 2008

Something is afoot ...

Following on from the baby booties, I have more to post about foot related things.

I hate feet, by the way.

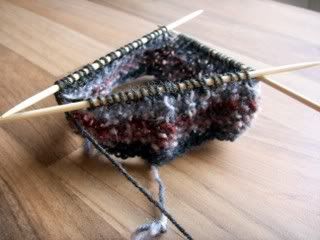
First of all, this is about to become a sock (not in the very near future, I imagine). It's very difficult to knit with these dpns. This is the first attempt. It may have to be unravelled. Should all go well, it will (hopefully) be joined by its partner. Then I can wear them. Or not.

Photobucket

Anyway ....

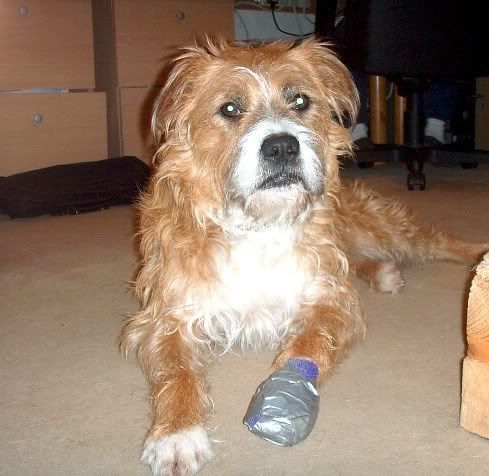
The other foot thing is that we have had another sharp slate + paw incident. Only this time it was Charlie. Charlie is much easier to bandage because he's not quite so nosey about "what's in that box?", "what's that cotton wool for?", "can I eat the disinfectant?", "let me rip the bandage up", "I'm going to tip up the bowl of bloody disinfectant water" (a la Paddy).

Photobucket

It bled a lot, but it's looking OK. We just have to put gaffer tape around it because it hasn't stopped raining since Christmas. Poor Chops.

Sunday, 20 January 2008

Booty call

Another project finished! I'm on a roll now.

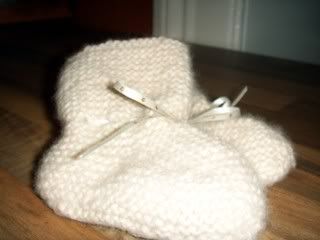
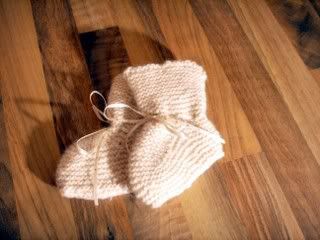
Here are the booties for my friend Julie. Well, no. For Julie's baby.

Photobucket

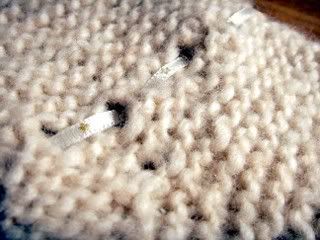
They were knitted from Rowan Soft Baby (less than one skein, as promised!), from the pattern in One Skein Wonders.


Photobucket

Having never knitted baby boots before I think they are rather cute, actually.

Photobucket

Thursday, 17 January 2008

That hat!

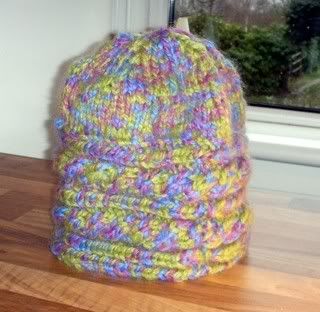
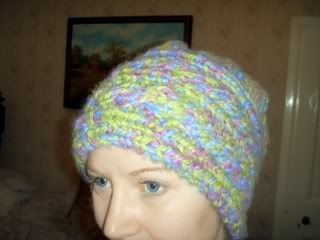
Is finished! It actually wasn't all that difficult to make, except that working with very bulky yarn was a pain. And it's very warm.

Photobucket

It's ever so slightly too tall, although I usually have my hair tied back in a bun so it actually fits well over that, which most hats don't. So, all in all, a success.

I don't know why I look weird in this picture. Perhaps I'm just weird looking.

Photobucket

The pattern is from the One Skein Wonders book. I'm now working on some booties from the same for Baby Kirk, who is due in about 4 months (so I will hopefully be finished by then).

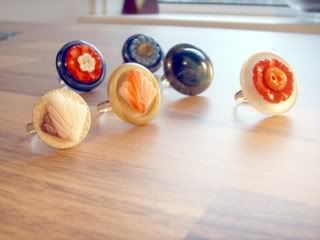
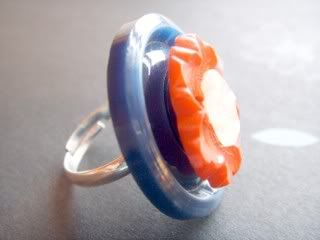
This is the other thing I was working on (more gluey fingers for me) yesterday. These rings are going in my Etsy when I get around to redoing it and taking decent pictures. The findings are silver plated, and those vintage buttons are from all over the place. The Art Deco fan ones are Czech glass, and genuine.

Photobucket

I like the red, white and blue flower one best.

Photobucket

Wednesday, 16 January 2008

Needle cushion tutorial

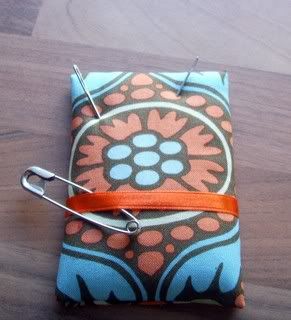
Now that I have started knitting, I have realised that - apart from needles, yarn and pattern - the knitter always carries around darning or tapestry needles for weaving in end threads and sewing pieces together. I have lots of mini pin cushions, but I decided that what I actually needed was a flat cushion for needles, which I can slot into the zip pocket of my knitting bag.

So I made myself one.
Photobucket

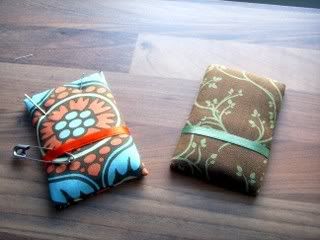
It has a cushion side to slip needles into, and a ribbon for holding safety pins. It is small enough to pop into your bag or needle case.

Here is the tutorial for it. As usual, unless I say otherwise, this is my own work. Please feel free to make your own or pass this link on, but please don't sell them on or distribute the tutorial without my permission. It's rude.

This is very easy to do and shouldn't take long, but there are lots of steps so it's a bit picture heavy. You'll also get gluey fingers if you're not careful.

You need:

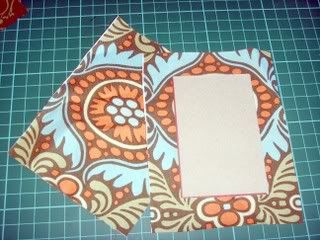
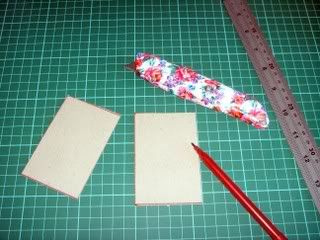
  • 2 pieces of 6cm x 9cm cardboard (I used the back of an A4 refill pad, it needs to be quite thick - thicker than a cereal box, if that makes sense) *** or see update at the bottom of this page.
  • 2 scraps of fabric, 10cm x 13 cm (try to place your pattern centrally, I just used scraps so mine isn't as nicely placed as I would have liked)
  • 1 piece of wadding - I used a double thickness of 2oz wadding because that was what I had. Make it slightly smaller than your card about 5cm x 8cm.
  • Small piece of ribbon
  • Some glue, brush, scissors etc

Cut your card and fabric pieces to size.


Photobucket

Photobucket

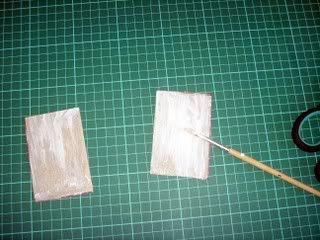
Spread glue on both card pieces. I used PVA high tack, which I blobbed in the middle and used a brush to spread out. This ensures that you get even coverage and stops your glue squidging all over the place. If using the kind of glue (like I did) that would seep through fabric, leave it to dry until tacky - about 30secs to a minute.

Photobucket

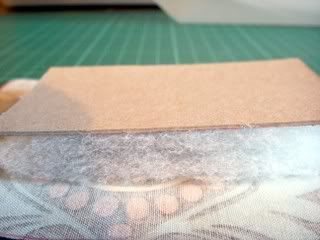
With wrong side of fabric facing you, place (centrally) one piece of card, glue side down, on to one of your fabric pieces. Make a sandwich with the other piece, wadding in the middle and the card (glue side down) on top. You now have 1 card piece with fabric stuck to it, and 1 with wadding stuck to it and fabric over the wadding.

Photobucket

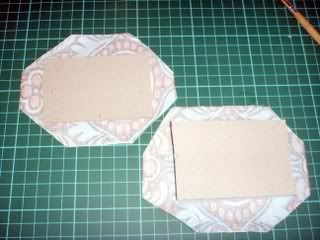
Mitre the corners. Leave a couple of mm from the corner edge - you'll see why in a minute. When mitring the wadding piece, squash the wadding down so that you can clearly see where to cut and do not cut too close to the corner. You can always trim a little more off if you need to.

Photobucket

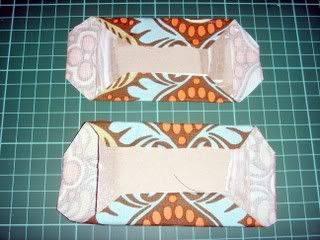
Spread glue around the edges and leave to dry for a few seconds before pressing down the two long sides. Pull the fabric tight as you do this to keep it nice and neat. Ensure the sides are well stuck.

Photobucket

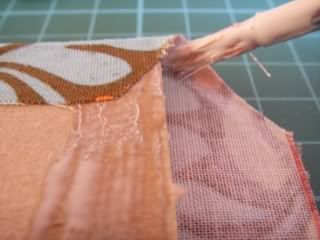
Now, take a tiny amount of glue on your brush (or use a cotton bud or similar) and brush a tiny amount of glue into each of the inner corners. I mean a tiny amount, literally enough to stick that bit of the corner to itself.

Photobucket


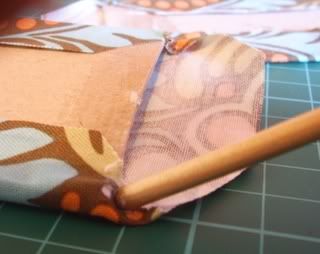
Using the end if your brush (or tip of a pencil) gently push the fabric inwards, towards the corner, covering the very corner of the cardboard. This gives you a nice tidy mitre. Do this one card at a time, so that the glue doesn't dry while you are working.

Photobucket

Now fold the two short sides over and stick in place as before.

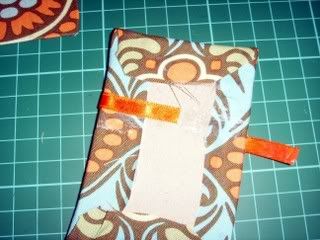
Take a length of ribbon about 10cm long and wrap, horizontally, around the front of the cushiony piece, about 3-4 cm up. Stick it down at the back.

Photobucket

Apply a good dollop of glue to both back-sides (lol) and spread all around. Make sure to give a good even spread, and be careful not to slop glue on your fabric, because you'll ruin your work if you do. Go as far up to the edges as you can without getting any glue on the sides. Leave for a minute until tacky, and press wrong sides together.

Et Voila!

Photobucket

It has also just occured to me that this would probably hold a small pair of snips as well. But I haven't tried it. You might have to substitute the ribbon for elastic, which isn't so pretty.

**Update. This does indeed hold a small pair of scissors (well, mine anyway). You could also store your stitch holders on the ribbon bit, that would keep all your small bits together. Gosh, I think I'm onto something here! **

***Another update! I was just swatching up some yarn when I realised that they always quote a swatch of 10cm or 4" - and I thought "hey, why not make the needle holder 10cms long instead of 9 that way, you have a handy swatch measure and you don't need a ruler" So, MKII needle holder will be 10cms long, I think ***

Monday, 14 January 2008

Now, where did I put that Ark?

I really wish it would just stop raining. The whole place is flooded. It has run in through the window in the kitchen and soaked the rug.

I took these pictures this morning in the orchard.

Photobucket

Photobucket

Photobucket

On a lighter note, all this stinky weather has given me more time to practise my knitting. Here is about 1/3 of a hat. It's a funny pattern that requires you to knit the main band, then pick up side stitches with circular needles and knit in the round. Strange. Anyway, I'll post more details if when I finish it.

Photobucket


I'm not sure that the cables work all that well with the coloured yarn, but hey ho! I suppose it will cover any little slips that I make - who knew it was so difficult to count to 4? (BTW I've never done cable before and I think I'm doing quite well).

Photobucket

Friday, 11 January 2008

More for the Craft Book Shelf

I forgot to blog the post today. More goodies for me, because OU is starting again, I have a tonne of work to do, so of course what I really need is more craft commitments :)

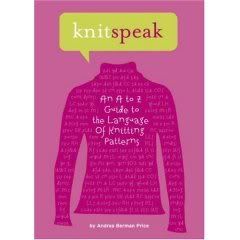
First up, Knitspeak, which you can see reviewed here.

Photobucket

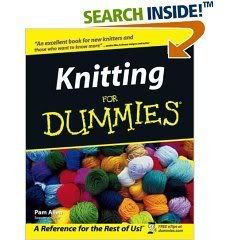
And secondly, Knitting for dummies (which I am).

Photobucket
Photos courtesy of Amazon, because I'm too lazy to take my own.

So, who knows when I'll actually get any knitting done, but I now have books, bag, needles, yarn and lots of wine. So no problem!

Tuesday, 8 January 2008

Goody Goodies!

It's a pain when your post only arrives at 3pm because by then it's already going dark so you know your pictures won't come out great. But I really wanted to show you the goodies Mr Postie brought me today.

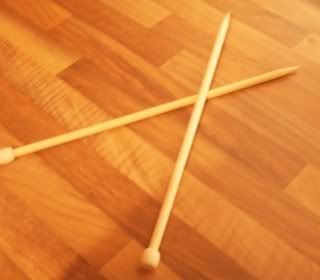
First up, these gorgeous bamboo knitting needles from ebay.

Photobucket

They came wrapped in this cuter-than-cute bag, which I just love even more for the mistake in it.

Photobucket

Photobucket

I've got singles, doubles and circular in just about every size. Yes, I realise it's probably a bit of an overkill but I like to be prepared :)


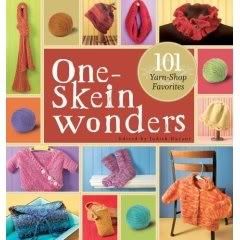
Speaking of which, next on the list of goodies is One Skein Wonders.

Photobucket

This has loads of easy, quick patterns to use up all the old odds and sods of yarn. I figured that seeing as I'm new to knitting I will get to practise lots of different stiches and techniques. Also, I have zero patience so the small projects should suit. And I can always unravel the whole thing if it goes pear-shaped And I'm sure I'll make lots of cute things that I can show you.

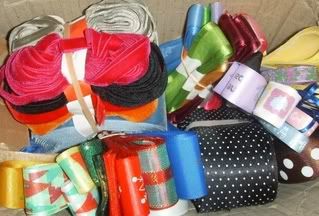
Next, this box of yummy ribbony erm.. ribbons!

Photobucket

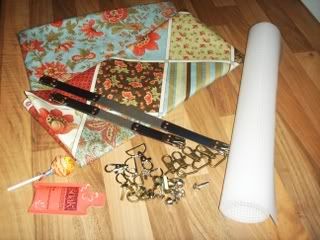
Last, but by no means least, these scrummy bag fixin's (no, that doesn't look right but I assure you it is correct!) from the perennially lovely Lisa at U-Handbag.

Photobucket

Well, not really from Lisa, I had to pay for them. She's not that lovely. Anyway, I was so pleased with my knitting bag that I'm making another one for my make-up from this gorgeous Moda fabric, with a matching zippy case for brushes and the like. I also bought a small extra hex frame to make another one that I haven't decided on yet.

I'll work on that tomorrow and post a pic. I think I'm also going to make a knitting needle roll to match the knitting bag, but I don't have any fabric left. Sigh, I guess I'll have to go looking at gorgeous, gorgeous Amy fabric and do lots of shopping again. Does anybody know of the best way to store the circular needles? Will a pouch do or will they get all tangled?

Friday, 4 January 2008

Told you I would be busy!

Well, the wind has died down (a bit) but it's still rotten weather.

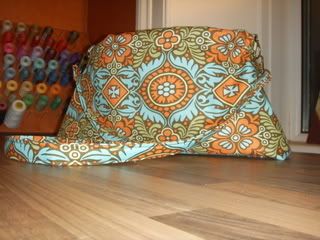
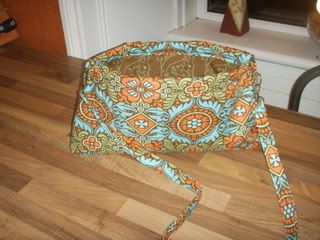
So today has been the perfect day to hone my poker skills on Facebook and make this bag for my knitting.

Photobucket

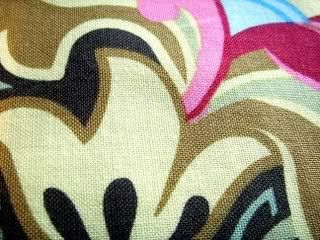
This fabric is by Amy Butler. I've loved it for ages but was never sure what I wanted to make with it.


Photobucket

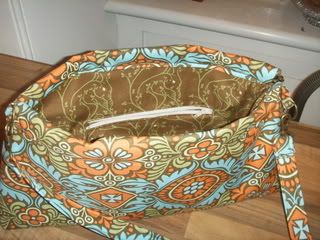
The lining is the new Moda Secret Squirrel fabric, bought at U-handbag. Can you see the squirrels?
Photobucket

Right, just needs some knitting to go in it!

** Just one thing, this bag (as most) has a very long handle and it's a major pain trying to sew in a straight line. My top tip is that as you stop mid-way to feed your strap, make sure your needle is in the "down" position. My machine has an option for this but if yours doesn't just wind on a little. This also works for sewing in zips - start with the zip half open and when you get to the pull part (I know all the technical terms) leave your needle down in the fabric before you lift the presser foot to do the zip back up and out of the way. No more lines of sewing that look like a dog's hind leg!